-40%
1968 Riverside CA Skip Fordyce Motorcycle Custom Paint - 3-Page Vintage Article
$ 7.37
- Description
- Size Guide
Description
1968 Riverside CA Skip Fordyce Motorcycle Custom Paint - 3-Page Vintage ArticleOriginal, vintage magazine article.
Page Size: Approx. 8" x 11" (21 cm x 28 cm) each page
Condition: Good
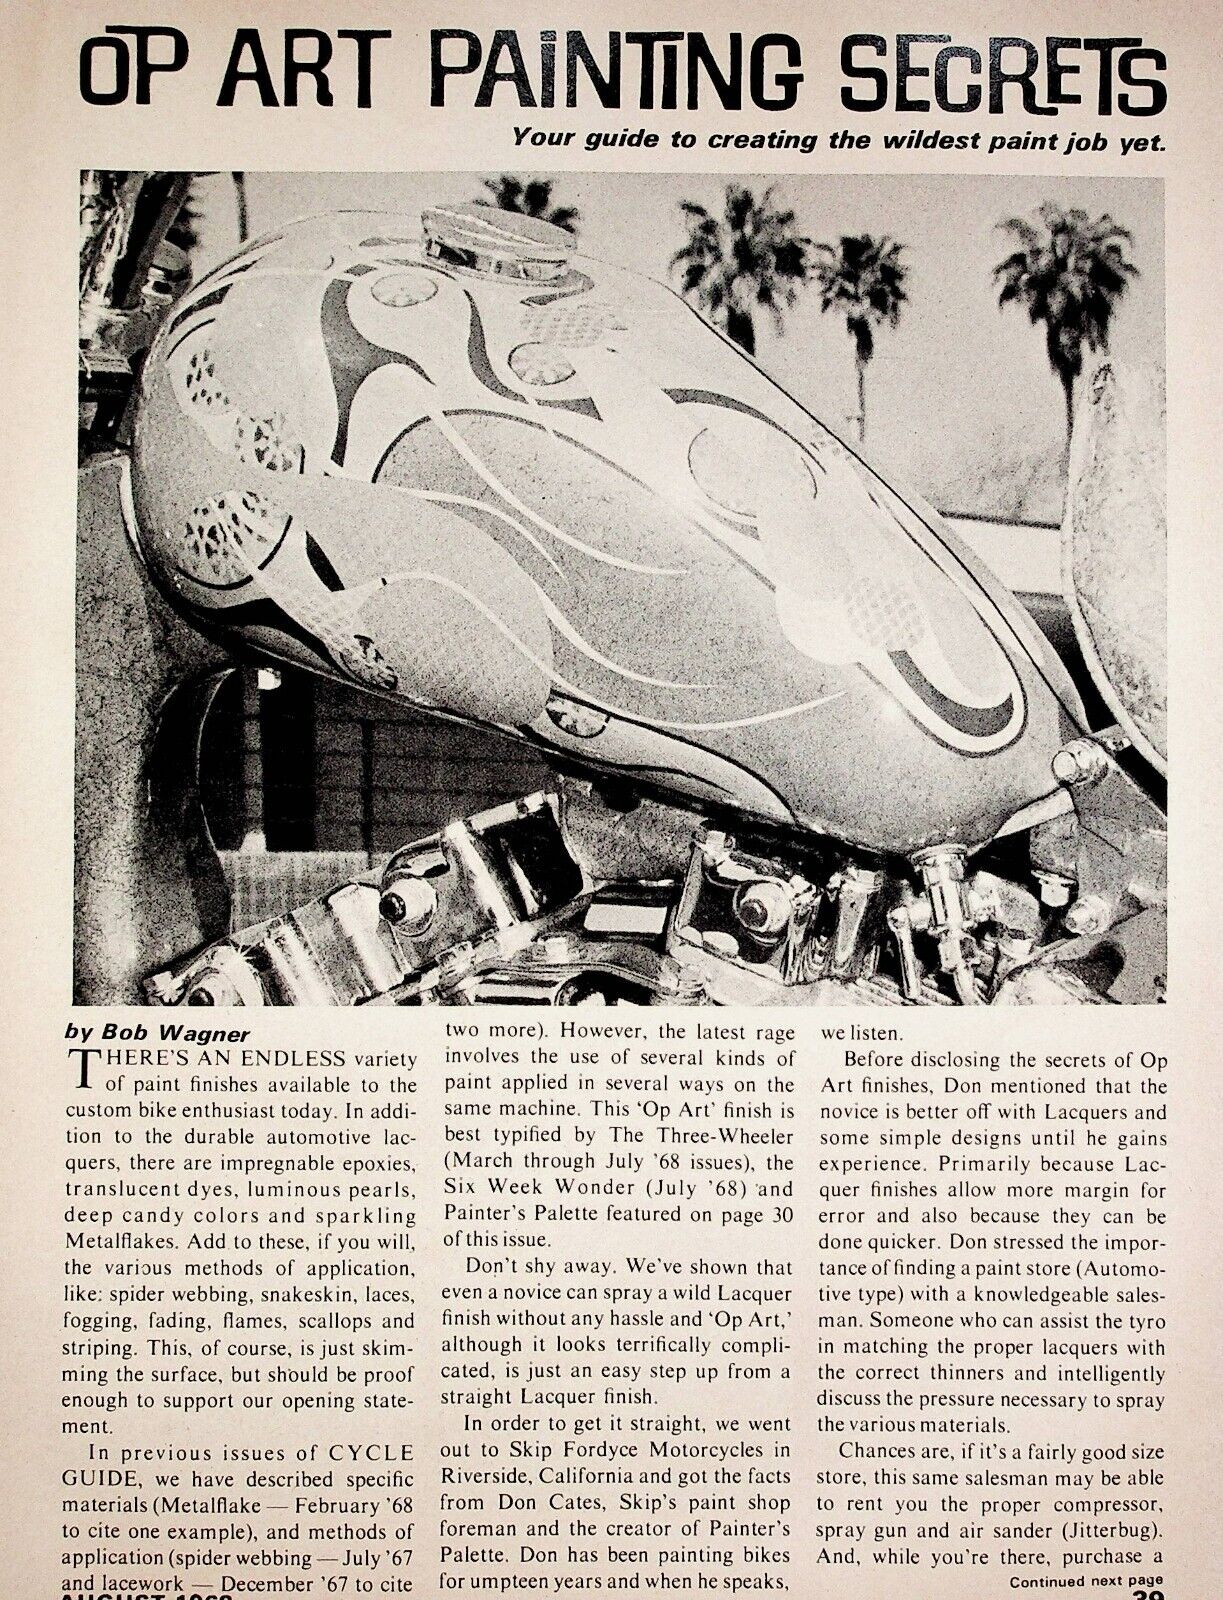
OP ART PAINTING SECRETS
Your guide to creating the wildest paint job yet.
by Bob Wagner
HERE’S AN ENDLESS variety
of paint finishes available to the
custom bike enthusiast today. In addi-
tion to the durable automotive lac-
quers, there are impregnable epoxies,
translucent dyes, luminous pearls,
deep candy colors and sparkling
Metalflakes. Add to these, if you will,
the various methods of application,
like: spider webbing, snakeskin, laces,
fogging, fading, flames, scallops and
striping. This, of course, is just skim-
ming the surface, but should be proof
enough to support our opening state-
ment.
In previous issues of CYCLE
GUIDE, we have described specific
materials (Metalflake — February '68
to cite one example), and methods of
application (spider webbing — July ’67
and lacework — December '67 to cite
two more). However, the latest rage
involves the use of several kinds of
paint applied in several ways on the
same machine. This ‘Op Art’ finish is
best typified by The Three-Wheeler
(March through July '68 issues), the
Six Week Wonder (July ’68) and
Painter’s Palette featured on page 30
of this issue.
Don’t shy away. We've shown that
even a novice can spray a wild Lacquer
finish without any hassle and ‘Op Art,’
although it looks terrifically compli-
cated, is just an easy step up from a
straight Lacquer finish.
In order to get it straight, we went
out to Skip Fordyce Motorcycles in
Riverside, California and got the facts
from Don Cates, Skip’s paint shop
foreman and the creator of Painter's
Palette. Don has been painting bikes
for umpteen years and when he speaks,
we listen.
Before disclosing the secrets of Op
Art finishes, Don mentioned that the
novice is better off with Lacquers and
some simple designs until he gains
experience. Primarily because Lac-
quer finishes allow more margin for
error and also because they can be
done quicker. Don stressed the impor-
tance of finding a paint store (Automo-
tive type) with a knowledgeable sales-
man. Someone who can assist the tyro
in matching the proper lacquers with
the correct thinners and intelligently
discuss the pressure necessary to spray
the various materials.
Chances are, if it’s a fairly good size
store, this same salesman may be able
to rent you the proper compressor,
spray gun and air sander (Jitterbug).
And, while you're there, purchase a
Continued next page
Oft
Continued^
quart of your base color; a quart of
clear Lacquer; a pint or half-pint for
each of your design colors; two rolls of
masking tape (’/s-inch and 3/4-inch
width) plus a roll of masking ‘paper’
and several sheets of #320 and #600
grit wet-or-dry paper.
With all the materials and equip-
ment assembled, you're ready to begin.
Many of you, having read this far. will
shrug your shoulders and say, “Okay,
what'll I use for a spray booth?” Don
Cates’ answer is, “Your driveway or
even the backyard.” With Lacquer,
you really don't need a costly spray
booth. Just a quiet spot out of the
breeze, but within range of an elec-
trical extension cord.
Before you begin spraying, sprinkle
the area with a garden hose to keep the
dust down and whatever you do, don’t
paint on humid days. At this point,
we’ll assume you have followed the
preliminary steps, including: removal
of any chrome or emblems; smoothing
any small dents with body filler; rough
sanding, smooth sanding and finally
priming.
One of the secrets of a good Op Art
paint job is getting a good base coat.
Mix your base color 2:1 or, two parts
of paint to one part of thinner. Imme-
diately before spraying the base coat,
wipe the tank and/or fender with a
‘Tack Rag’ to remove surface dust.
Now go ahead and shoot your base
coat; keeping in mind the settings rec-
ommended by the salesman. When the
base coat has been applied, set the tank
in a dust free location and keep your
cotton pickin' hands away from it for
24-hours. No cheating!
Take this time to draw out some
possible patterns. Don waits until the
tank is dry, then outlines the pattern
directly on the lank with ’/s-inch wide
masking tape. If necessary, trace the
pattern for the fender or tank on paper,
cut it out and-transfer it to the tank by
outlining in ’/«-inch wide masking
tape.
After laying out the basic design in
’/s-inch tape, cover all the areas you
don’t want in, say a lace pattern, with
%-inch wide tape and masking paper.
Depending on the design, this might
mean 90-percent of the tank. The real
secret is in overlapping the designs and
perhaps repeating them in one or two
widely separated areas.
1) An air sander or jitterbug will ease
sanding chores Keep it in constant mo-
tion and sand with contour.
2) Fill nicks, prime and resand with finer
grade of paper. Good surface is a must
for a flawless paint job.
3) Spray a good base coat evenly over
entire gas tank and rear fender. Keep the
spray gun in constant motion.
4) When thoroughly dry, outline the
design in 1 /8-inch wide masking tape
following pattern or going freehand.
5) Areas not in pattern are masked with
3/4-inch tape and masking paper. Apply
over 1 /8-inch tape, but don't
6) make edges flush. Now tape the
lace snugly over tank or fender. The 1/8-
inch tape is still your border.
15716


